
Download Kinemaster For PC – MAC & Windows 7,8 & 10
Kinemaster for PC: Hello people welcome to Techyguide, here in…
Kinemaster for PC: Hello people welcome to Techyguide, here in this post you are going to learn how to download & use kinemaster video editing app on your personal computer. we are going to share how to download on both MAC as well as windows. you can use this method in any of the windows version like windows 7 or windows 8 or even the latest version windows 10 so simply follow the steps mentioned below and use kinemaster app on PC
As you know kinemaster app is one of the most popular apps available on mobile devices. it is available in both android as well as IOS devices and it is available in both paid & free versions. This app comes with some of the great features of video editing and in the free version of this app, you will get a watermark on the video.
This app is not officially available on PC but you can use this app on PC with the help of an emulator. You can download both android or IOS emulator on your pc to use this app without any problem. the functions of this app are going to be same like android or IOS app. So what you are going to do is first you will download the android or IOS emulator on your PC and then you will download the kinemaster app on that android or IOS emulator. as simple as that.
This is the only possible way to download & use the kinemaster app on PC.
[su_divider style=”dashed” divider_color=”#ab03ff”]
Features of Kinemaster video editor.
- It supports the multi-layers of Image, stickers, Texts, handwriting, and videos.
- You can add sound effects, Voice over and Background Music
- You will find a wide range of editing tools like Trim, crop or splice the videos.
- Speed control for slow-motion & Timelapse effects
- It supports multiple aspect ratios
- You can export 4K 2160P videos at 30 frames per second.
- To add motion to layers you will have keyframe animation tools
- Blending modes to create startling & beautiful effect.
- You can share on social media after rendering the video and many other features.
[su_box title=”Kinemaster for PC requirements: ” style=”bubbles” box_color=”#e85758″]
- Enough Space for Android or IOS emulator
- Android or IOS Emulator on your PC
- Kinemaster app
Most of the emulator requires around 200MB to 300MD and these emulators are available for Windows as well as for MAC. you can download whatever you want and some of the best emulators are Bluestacks and NOX App player. both of these emulators are available for Windows as well as MAC. [/su_box]
[su_divider style=”dashed” divider_color=”#ab03ff”]
How to Download Kinemaster on PC
How to download & Install Emulator?
After selecting the emulator then you need to download that emulator on your pc and install it. Below I am going to explain how to install both Nox app player as well as Bluestacks so that you can follow the download & install process as per your choice.
[su_spoiler title=”NOX App Player Emulator Installation Process” style=”Default”]
Requirements of NOX App Player
- Windows or MAC OS
- CPU: AMD or Intel Dual Core
- RAM: 2GB to run full capacity of Nox App player
- You need a 2.2GHz processor
- Min 1GB Graphic Card to smooth running.
About Nox App Player Software
| Emulator Name | NOX App player |
| Available for | Windows & MAC |
| File Size | 355MB |
| Paid or Free | FREE |
| Android Version | Android 7 |
- First of all download the Nox app player on our PC. If you have windows then install the windows version and if MAC then download the MAC Version. I will explain the windows installation below.
- Now after downloading the software on your PC. Simply click on that and you will see a window popping up like shown in the image below.
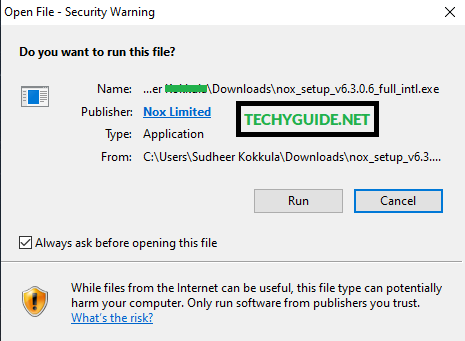
- Click on the option “RUN” and the installation process will start on your PC.
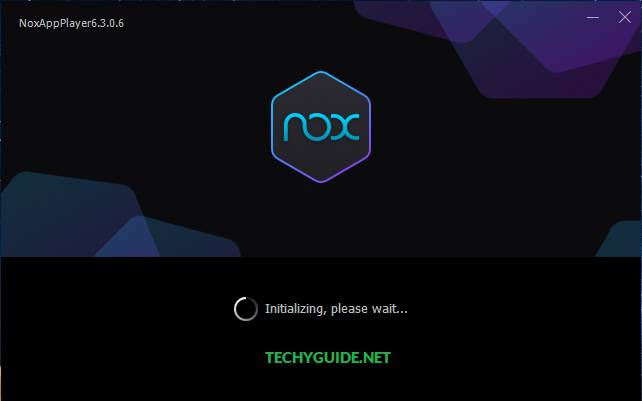
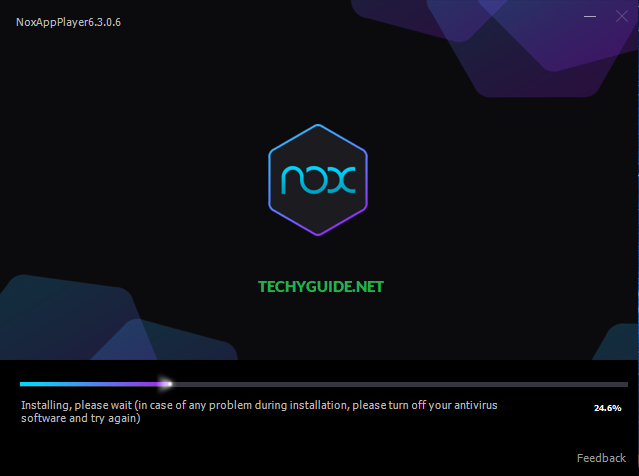
- Once After starting the installation window the very next set it will show is to install. you can see the image below.
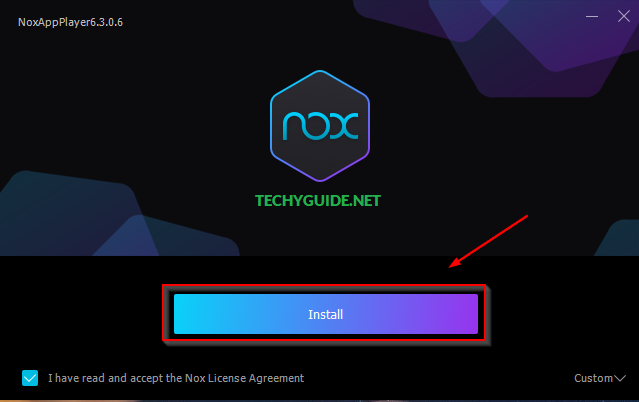
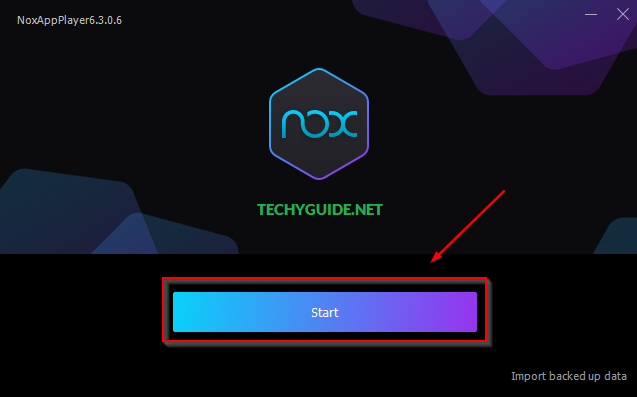
- Now After successfully installing the Nox software it will show you an option called “Start” you can see in the below image.
- Once After clicking on the start button the very next set it will show is “Welcome to use NoxPlayer” with 2 options. one is to skips the tutorial and the other is Enter the tutorial. You can see those option in the below image.

If you want to know about the Nox app player then click on the option “Enter Nox App player” if you don’t want to simply click on “Skip the Tutorial“
I have skipped the tutorial and then it will show the Dashboard like in the below image.
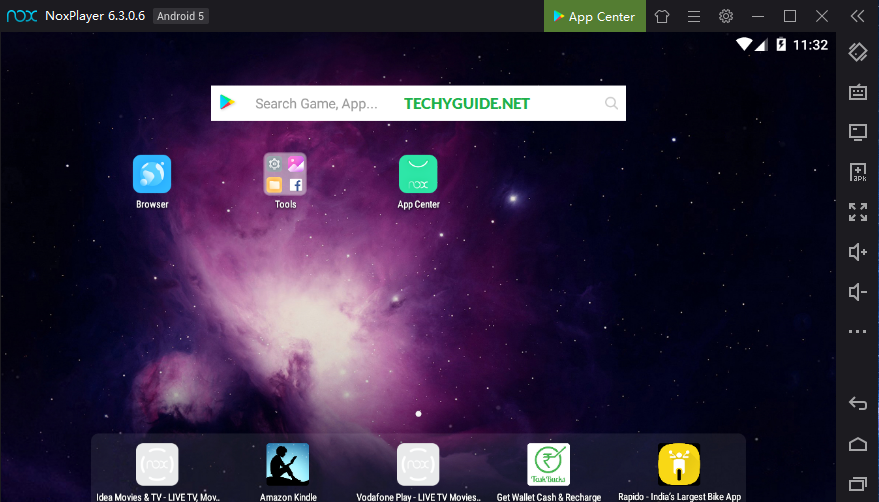
That’s it. You have successfully downloaded & installed the Nox app player on your PC. now you have to install the Kinemaster app on this android Emulator. [/su_spoiler]
[su_spoiler title=”Bluestacks Emulator Installation Process” style=”Default”]
Bluestacks Requirements:
About Bluestacks Software
| Emulator Name | Bluestacks |
| Available for | Windows & MAC |
| File Size | 554MB |
| Paid or Free | FREE |
| Android Version | Android 7 |
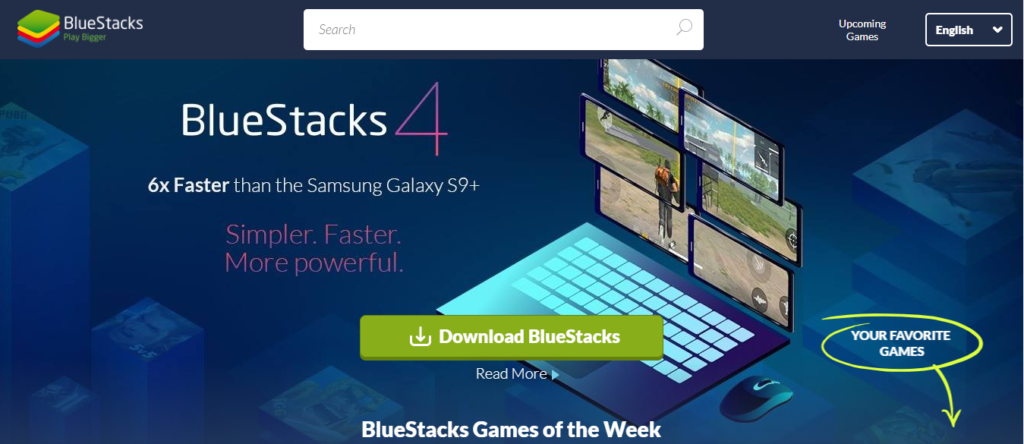
First of all, Open the bluestacks website and download the bluestacks on your PC. Open the bluestacks website by clicking on the above button.

After downloading click on the software and click on the option called “RUN“
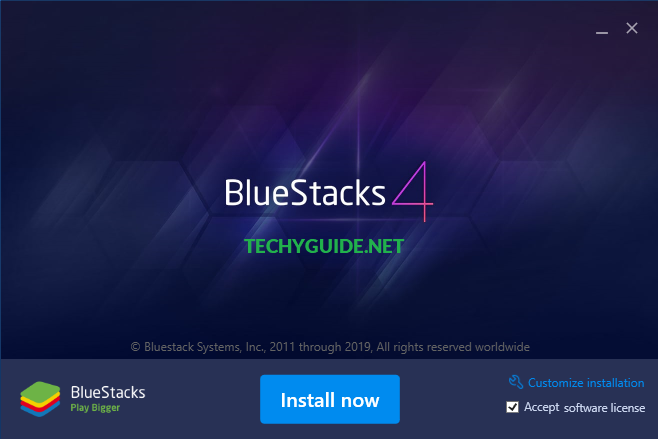
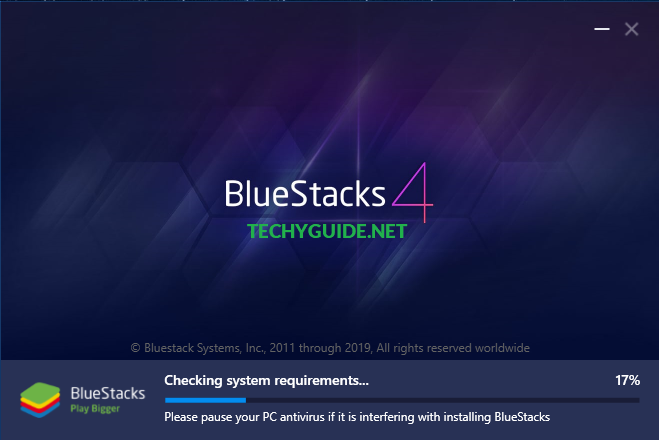
Now click on “Install” it will start installing the software. this software downloads the data after the installation process starts.

Once it finishes the downloading process, it will start installing the bluestacks automatically and then it will redirect to the bluestacks dashboard as shown in the below image.
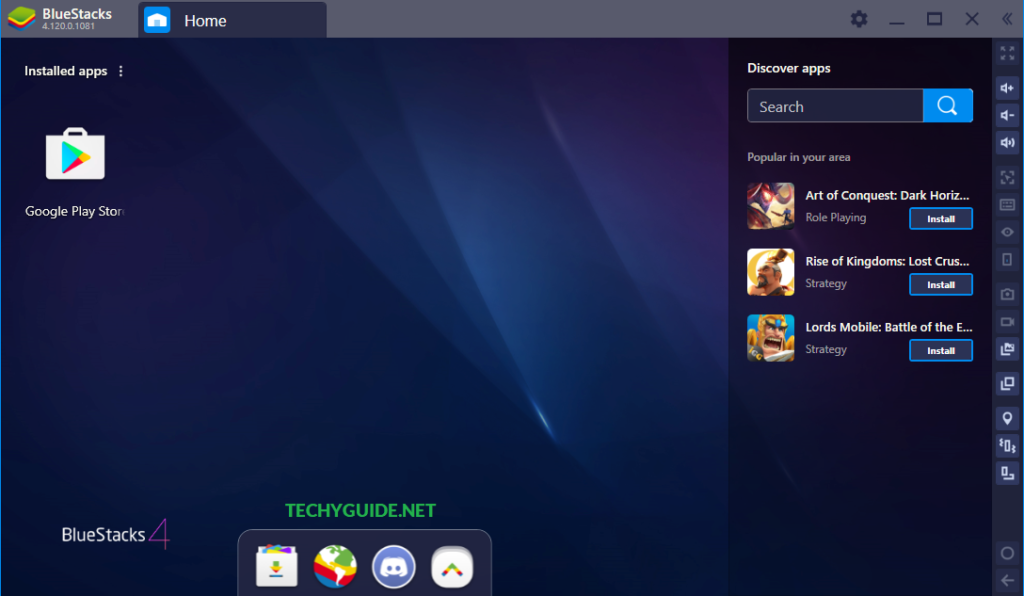
That’s it. You have successfully downloaded & installed the Bluestacks android emulator software on your PC. If you are facing any problem then comment below the error caused. [/su_spoiler]
Download & Install Kinemaster on PC
After successfully downloading the android emulator on your pc the next step you have to do is signup to google play store to download the Kinemaster app or you can download the Kinemaster APK on your PC and then drag & drop the APK file into the emulator.
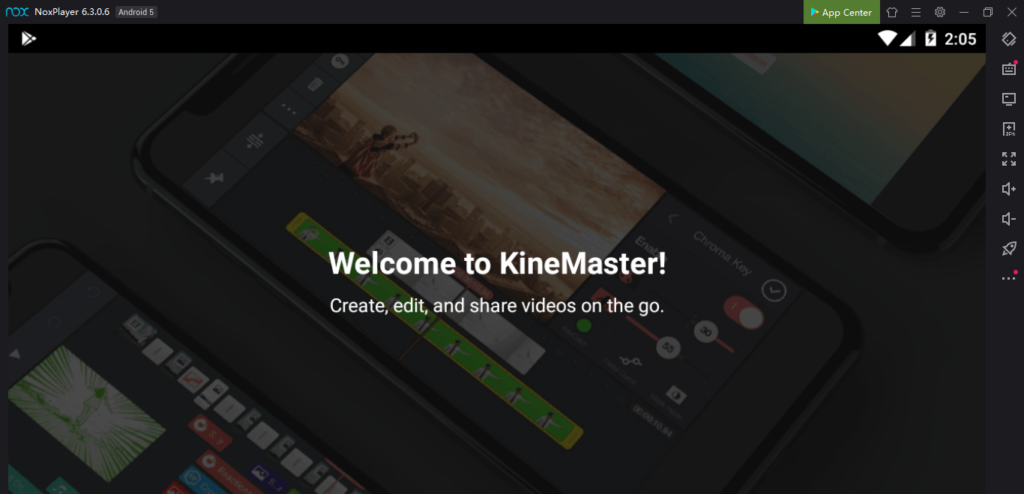
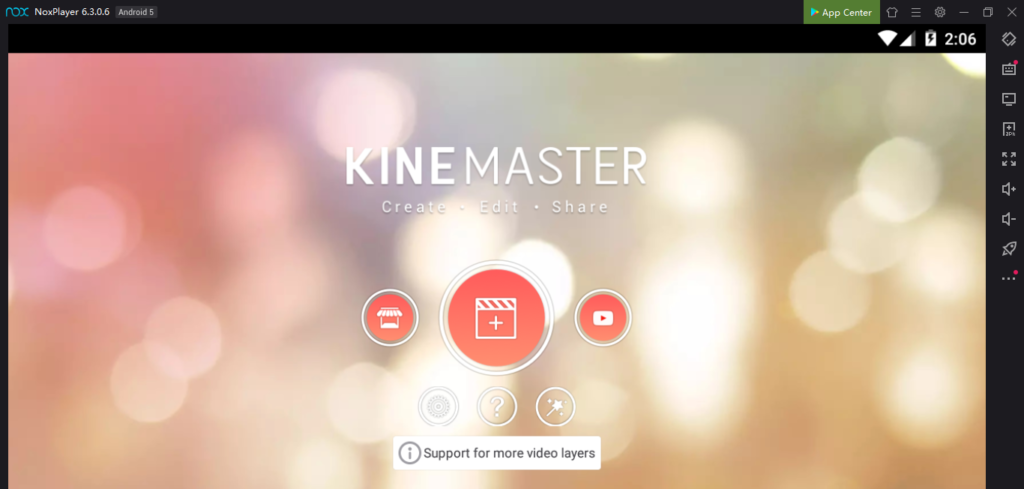
Once you have drag & dropped the kinemaster apk it will shart installing the app and open the kinemaster app on your PC’s android emulator. you can check the below image.
That’s it. You have successfully download he android emulator and installed the kinemaster APK on your PC.
- mParivahan for Pc
- TATA Sky app for Pc
- IP Webcam for Pc
- Plus Messenger for Pc
- Telegram X for Pc
- Anybooks for Pc
- IRCTC app for Pc
- Gradeup app for Pc
- Camscanner for Pc
- Paynearby app for Pc
- Careerwill App for Pc
- ZArchiver for Pc
- TorrDroid for Pc
- Vidmix for Pc
- VPN Master for Pc
- JioTv for Pc
- Yono sbi app for Pc
- Viu for Pc
- Sunnxt app for pc
- Shazam App for Pc
- Termux App for Pc
- Phonepe App for Pc
- Pixel Lab App for Pc
- Gmail App for Pc
- Xmeye App for Pc
- V380 App for Pc
- Zee5 App for Pc
- PTV sports App for Pc
- Sonylive App for Pc
- ES File Explorer App for Pc
- Wattpad App for Pc
- Truecaller App for Pc
- Snapchat App for Pc
- Canva App for Pc
- Tubemate App for Pc
- Paytm App for Pc
- Diksha App for Pc
- Byjus App for Pc
- Facebook App for Pc
- Hotstar App for Pc
- Mitra App for Pc
- Airtel Xstream App for Pc
- Snaptube App for Pc
- Unacademy app for Pc
- Shareme App for Pc
- Playit App for Pc
- Google Indic Keyboard App for Pc
- Youtube App for Pc
- Kinemaster App for PC
Conclusion:
I hope you have downloaded the and successfully installed the emulator & kinemaster APK on your PC and started using the kinemaster video editing app without facing any problem. If you have any question or facing any problem with the app or emulator then feel free to comment below. Share this post with your friends & family members if it worked for you.
![How to fix [pii_email_e5cd1a180e1ac67a7d0e] error?](https://techyguide.net/wp-content/uploads/2020/08/techyguide-feature-image-31-300x169.jpg)


![LDPlayer: Best Android Emulator 2023 [Beginner Guide]](https://techyguide.net/wp-content/uploads/2021/04/download-ld-aplyer-300x138.jpg)
![How I got 12k+ Instagram Followers in 4 Months [Case Study]](https://techyguide.net/wp-content/uploads/2019/10/instagram-followers-300x167.png)